Connecting Power BI to NetSuite Analytics Warehouse (NSAW)
Before You Begin – Do You Have Access to the ADW?
This guide assumes you already have access to your NetSuite
Analytics Warehouse (NSAW) Autonomous Data Warehouse (ADW) and
know how to connect to it.
If you're not yet set up or need help accessing your database,
start with our article on
before continuing:
Co
n
necting to the NSAW ADW Database
Stop! Before You Connect Power BI
Ask yourself: Why are you connecting Power BI to NetSuite Analytics Warehouse?
If you’re already using Power BI internally, or you’re working with a customer who relies on Power BI and simply want to tap into NSAW data using tools you're familiar with — great! You’re in the right place, and the steps below will help you get connected. Feel free to skip to the next section.
That said, we often talk to customers who are exploring Power BI (or Tableau, Qlik, or Looker) because they think NSAW can’t do something — usually based on conversations from leadership who heard about powerful dashboards their peers are building in other tools. While those tools are excellent — and we’ve worked with all of them — the reality is that most of those “wow” features are entirely achievable within NSAW as well.
We're not anti-Power BI. We're anti-spending-money-on-an-extra-tool-when-it's-not-necessary.
If you’re turning to another BI platform because you believe NSAW can’t support a particular use case, we strongly encourage you to talk to a qualified NSAW consultant first. Many will offer a free evaluation, and what you think requires a whole new tool might be solvable with a couple hours of targeted NSAW training — which is likely far less costly than licensing, implementing, and maintaining another platform.
This article will absolutely walk you through connecting Power BI to NSAW. Just take a moment before you dive in to make sure it’s the right path for your business and your budget — especially if you’re already paying for a powerful analytics tool that keeps getting better with every update.
Power BI to Oracle ADB (64-bit) Connection Checklist
1. Download NSAW Cloud Wallet
- Download the credentials ZIP file from NetSuite Analytics Warehouse. If you don't know where to get the wallet check out this article.
-
Extract the ZIP contents (including
cwallet.sso,tnsnames.ora, andsqlnet.ora) to a local directory, such as:C:\data\wallet
2. Install Oracle Client for Microsoft Tools (OCMT)
-
Download and install the
64-bit OCMT
, which includes the unmanaged Oracle Data Provider for .NET
(ODP.NET), from the Oracle website:
https://www.oracle.com/database/technologies/appdev/ocmt.html -
During installation, specify the directory containing your
wallet files (e.g.,
C:\data\wallet).
3. Download the Oracle Instant Client
-
Get the Oracle Instant Client from:
https://www.oracle.com/database/technologies/instant-client/downloads.html -
Unzip the contents into a folder like:
C:\OracleClient\instantclient_19_24
4. Set Up Windows Environment Variables
-
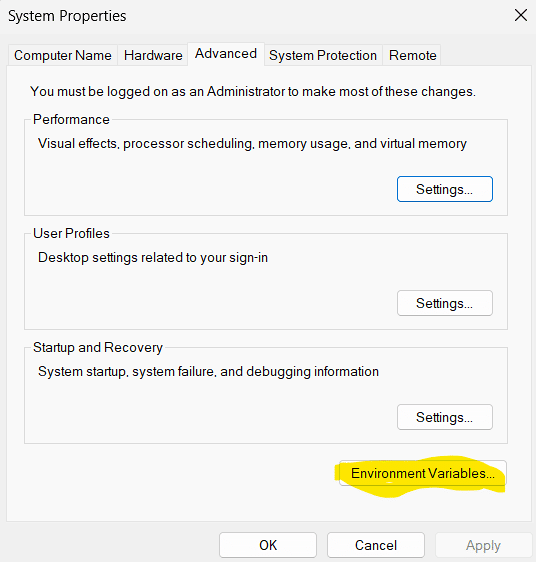
Open
System Properties
:
-
Press
Windows + S, type “Environment Variables”, and select Edit the system environment variables . - In the System Properties window, click Environment Variables…
-
Press
-
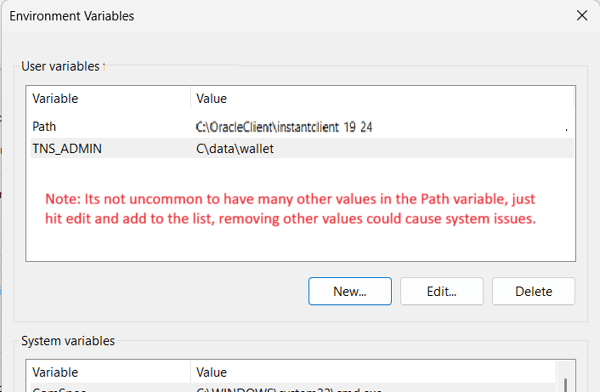
Under
System variables
, add or edit the following:
-
TNS_ADMIN=C:\data\wallet -
⚠️ Note: If you use Oracle SQL Developer and have multiple NSAW instances to connect to SQL developer by default will use the wallet file in this directory regardless of what you have specified in the connection. If you only have one instance this isn't a problem. If you have more than one you may see an error saying "ORA-12529: TNS:connect request rejected based on current filtering rules". -
Add to
PATH:C:\OracleClient\instantclient_19_24
-
5. Connect Power BI Desktop to Oracle ADB
- Open Power BI Desktop
-
Go to:
Home > Get Data > Oracle Database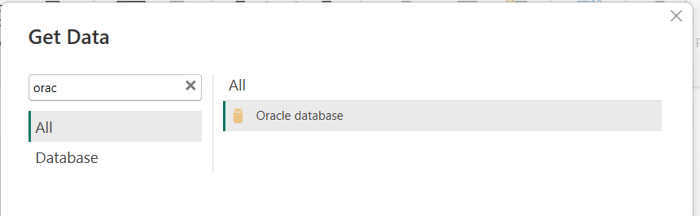
-
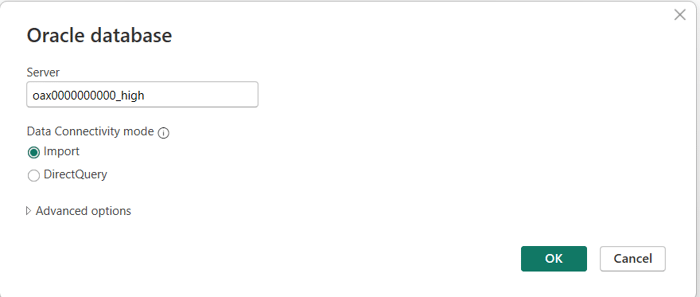
In the connection dialog:
-
Server
: Enter the TNS alias from your
tnsnames.orafile (e.g.,oax123456_high)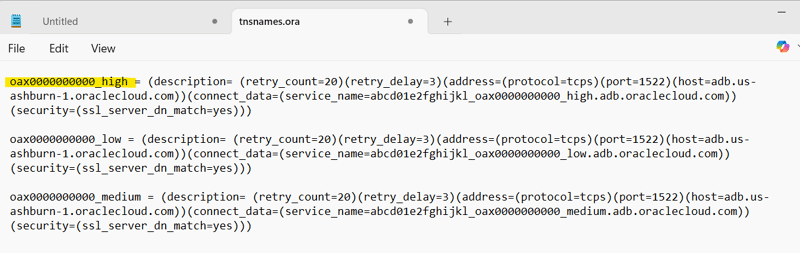
-
Data Connectivity mode
: Choose between
Import
or
DirectQuery
based on your needs
-
Server
: Enter the TNS alias from your
- Click OK
-
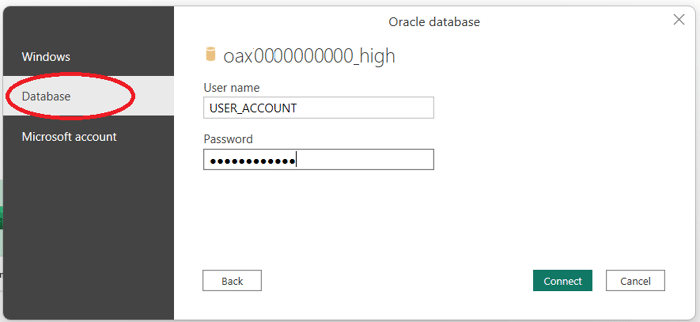
When prompted, enter your Oracle database credentials.
⚠️ Be sure to switch to the Database tab for credentials — not Windows Authentication